Settings
App preferences and configuration.
Settings are opened from the Command bar (the bar with Add, Plan, Publish, the YouTube chip, and the Settings icon). Click the Settings (gear) icon on the right side of the Command bar to open Settings. Tabs include Interface, Integrations (Google OAuth Client ID / secret, OpenAI API key), Account, Custom AI, Diagnostics, and Developer mode.
Step 1 — Open Settings menu
Click the Settings (gear) icon in the Command bar, then switch tabs: Integrations for OAuth and API keys, Interface for UI preferences, etc.

Screenshot 01 — Settings (gear) in Command bar
Step 2 — Interface
Choose Interface to open the Interface dialog. You can set:
- UI size — Slider from 100% to 200% (with A− / A+ buttons).
- Day / Night — Theme switch (light/dark).
- Language — Dropdown for app language.
- Command bar position — Top or Bottom (where the main action bar appears).
- Panels layout — Default or Swapped (order of table and Details panel). Click Close to apply. All settings are saved automatically. The Details panel width is not in this dialog — resize it by dragging the splitter between the table and the Details panel.
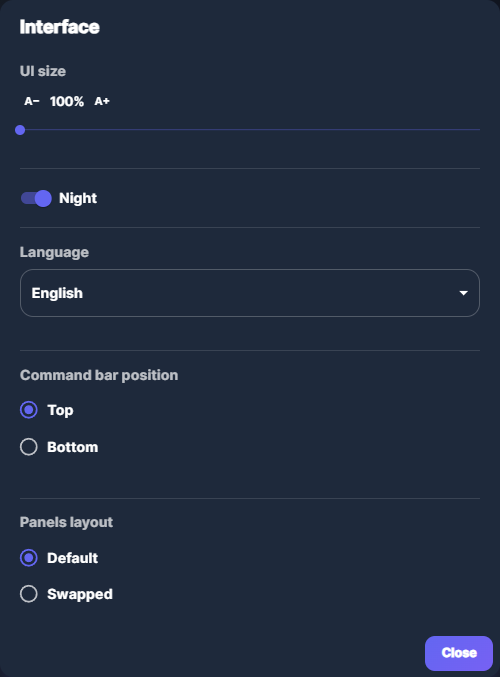
Screenshot 02 — Interface: UI size, theme, language, command bar position, panels layout
Step 3 — Account
Choose Account to open the Account dialog. YouTube sign-in is not here: use Settings → Integrations to enter Google OAuth Client ID and secret (BYOK), then the YouTube chip in the Command bar for Test connection and Reconnect. See YouTube Connect & Upload. Developer mode → Open User Data is only for legacy files or debugging.
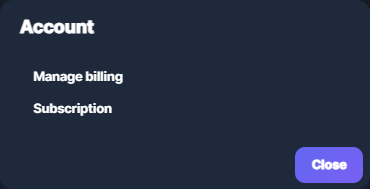
Screenshot 03 — Account: Manage billing, Subscription (coming soon)
Step 4 — Custom AI
Choose Custom AI to manage AI presets, custom instructions per platform, and description templates used when generating metadata. See Presets for details.
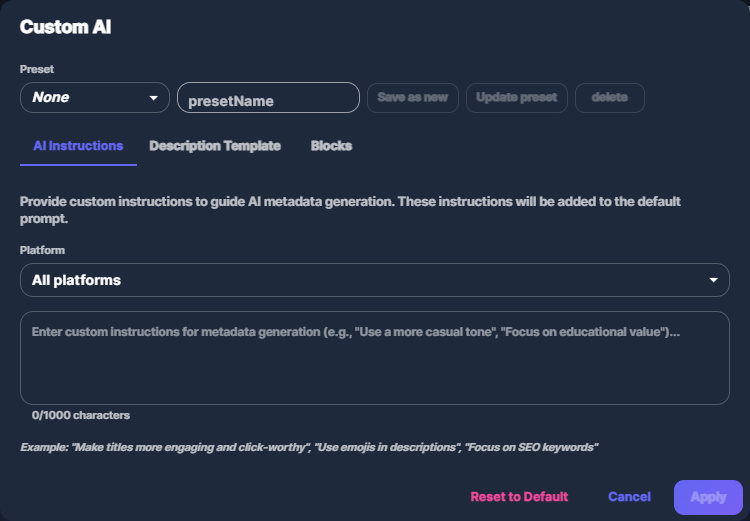
Screenshot 04 — Custom AI: presets and instructions
Step 5 — Diagnostics
Choose Diagnostics to open the Diagnostics dialog. It shows read-only status: Connections (YouTube: Connected / Not connected), Auto Upload (Enabled, and Silent when enabled), Jobs (Total count, Processing count), and System info (Platform, Architecture, Version). Use it to verify connection and environment.
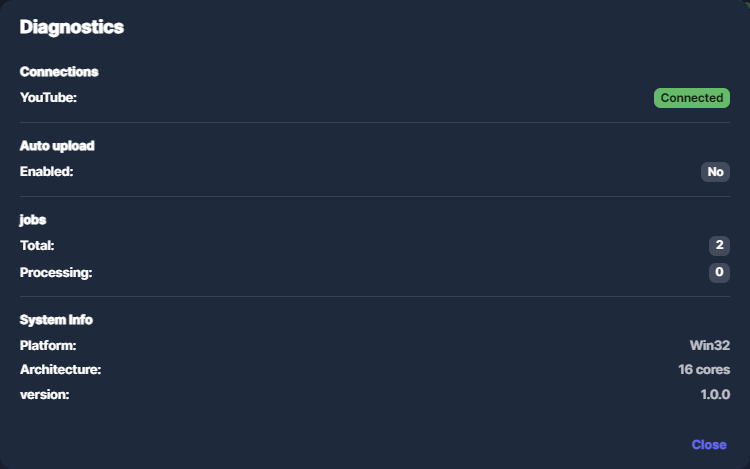
Screenshot 05 — Diagnostics: connections, Auto Upload, jobs, system info
Step 6 — Developer mode
Choose Developer mode to open the Developer mode dialog. It shows a warning and: Debug mode (extra diagnostics) and Developer Actions like Open User Data (app data folder) and Open outputs (outputs folder). There is no separate “output path” setting in the app — you open the folder from here or from the Details panel (Open outputs when a row is selected).
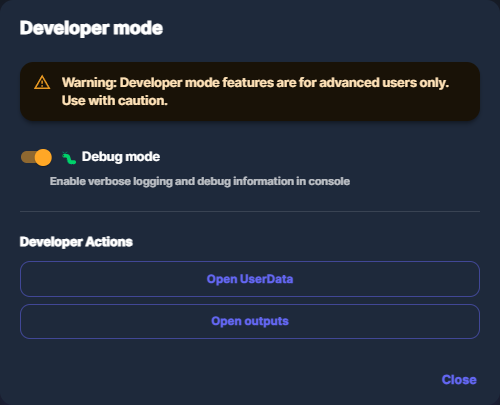
Screenshot 06 — Developer mode: Debug mode, Open UserData, Open outputs
Persistence
- Interface choices (UI size, theme, language, command bar position, panels layout, details panel width) are saved automatically and persist across restarts.
- Developer Debug mode is saved automatically.
Common issues
- YouTube not in Account — Connect or reconnect YouTube from the YouTube chip in the Command bar (Test connection, Reconnect).
- Output folder — You can change the Outputs folder in Settings → Developer mode under Outputs folder (Browse… / Reset). Open it via Developer mode → Open outputs or Details panel → Open outputs.